Installing solar panels on your roof is a big step. It’s smart, cost-effective, and good for the environment. In India, rooftop solar is getting faster and cheaper. This guide walks you through each stage—clearly and completely.
1. Understand Your Energy Needs
First, review your past electricity bills. Find your average monthly consumption in units (kWh). This tells you what size system you need bluebirdsolar.com.
- A 3 kW system might generate around 3,500–4,500 units per year.
- A bigger family might need 5 kW or more.
2. Choose the Right Installer
Find a trusted, certified installer. Look for:
- MNRE approval, ISO, and BIS certifications
- Past client reviews and completed projects
- Clear warranties and after-sales service
Get quotes from at least three installers. Compare equipment, warranties, and cost.
Also Read What to Expect During a Solar Site Survey 2025, What Is Solar Energy?
3. Site Assessment and Design
The installer does a site survey. They:
- Measure rooftop space, direction, tilt, and strength
- Take roof-material photos and note any repairs needed
- Use shade meters to check sun exposure
- Measure where panels and inverter will sit
- Plan the cable route to the meter and inverter
A good layout prevents shade and optimises sun capture.
4. Equipment Selection
You and your installer choose:
- Panels: mono or polycrystalline
- Inverters: string or microinverter
- Mounting structure: flush, tilted, or rooftop
- Accessories: cables, MC4 connectors, earthing kits
Choose quality brands with 25-year performance warranties on panels and 5–10 years on inverters.
5. Obtain Permissions
Before installation begins, the installer will:
- Apply for net-metering at your DISCOM
- Submit site survey report, single-line diagram, and documents
- Get approval typically in 15–30 days
This step includes building permits or society consent, if needed.
6. Mounting Structure Installation
Mounts hold the panels securely. Installers:
- Secure mounts to the roof with bolts and sealants
- Ensure correct tilt (15–30°) and direction (south-facing)
- Use flashings for leak protection
- Check mounts handle wind and weight loads
Proper sealing prevents roof damage during rain.
7. Panel Installation
Now, panels go onto the mounts:
- Technicians carry panels carefully
- Secure panels with clamps and bolts
- Maintain gap for airflow and expansion
Panels are positioned to maximise sunlight exposure.
8. Electrical Wiring
Next, panels are wired:
- Use MC4 connectors to link panels in series or parallel
- Wire leads connect to combiner box or inverter
- Use quality DC and AC cables
- Install proper earthing and lightning arrestors
Good wiring ensures safe and efficient power transfer.
9. Inverter and Grid Connection
The inverter converts DC to AC:
- Install inverter near the main electrical panel
- Connect DC from panels to inverter input
- Connect AC output to your home’s breaker panel
- Integrate with the grid via net-metering setup
A skilled electrician ensures secure and code-compliant connections.
10. Commissioning and Inspection
Once wiring is complete:
- Turn on the system via inverter or panel switch
- Check inverter display or app for performance stats
- DISCOM inspector visits for final net-meter test
- New bi-directional meter installed
- Final inspection ensures everything is safe and legal
Now your system is live and starts generating power.
11. Claim Subsidy
If eligible under Surya Ghar:
- Submit installation certificate, invoice, and net-meter proof
- Subsidy (₹30k/kW for first 2 kW, ₹18k for 3rd kW) is credited within 30 days
The national portal handles subsidy transfers directly to your bank.
12. Post‑Installation Checks
After installation:
- Clean panels before first use
- Teach you how to read inverter and app data
- Provide maintenance schedule (cleaning, inspection)
- Offer annual maintenance contracts (AMC)
Ensure you know who to call for support.
13. Maintenance Tips
To keep your system running:
- Clean panels every two months or after severe dust
- Trim overhanging branches that cause shade
- Check cables and fittings for corrosion
- Monitor inverter daily for errors or low production
Regular upkeep ensures high system uptime.
Why This Process Matters
A proper step-by-step installation keeps your system:
- Safe, efficient, and long-lasting
- Free from issues like leaks or shadow losses
- Under warranty and subsidy support
- Producing maximum power and savings
By following the steps above, you set realistic expectations and avoid surprises.
FAQs
Q. How long does installation take?
A. Typically 2–4 days for a residential system; larger projects may need 1–2 weeks.
Q. Do I need to be home during installation?
A. Yes, you or a representative should be present to guide installers and permit access.
Q. Can I DIY install solar panels?
A. It’s not recommended. Professional installation ensures safety, correct wiring, and grid compliance .
Q. How long until panels start generating?
A. Once grid inspection is passed and net-meter is active, electricity starts flowing—usually within 60 days of signup .
Q. Will the system work during monsoon or cloudy days?
A. Yes. Panels still generate power. Excess from sunny days balances out cloudy days via net metering .
Q. What maintenance is needed?
A. Light cleaning every month and inverter check monthly. Full maintenance check annually helps prevent issues.
Conclusion
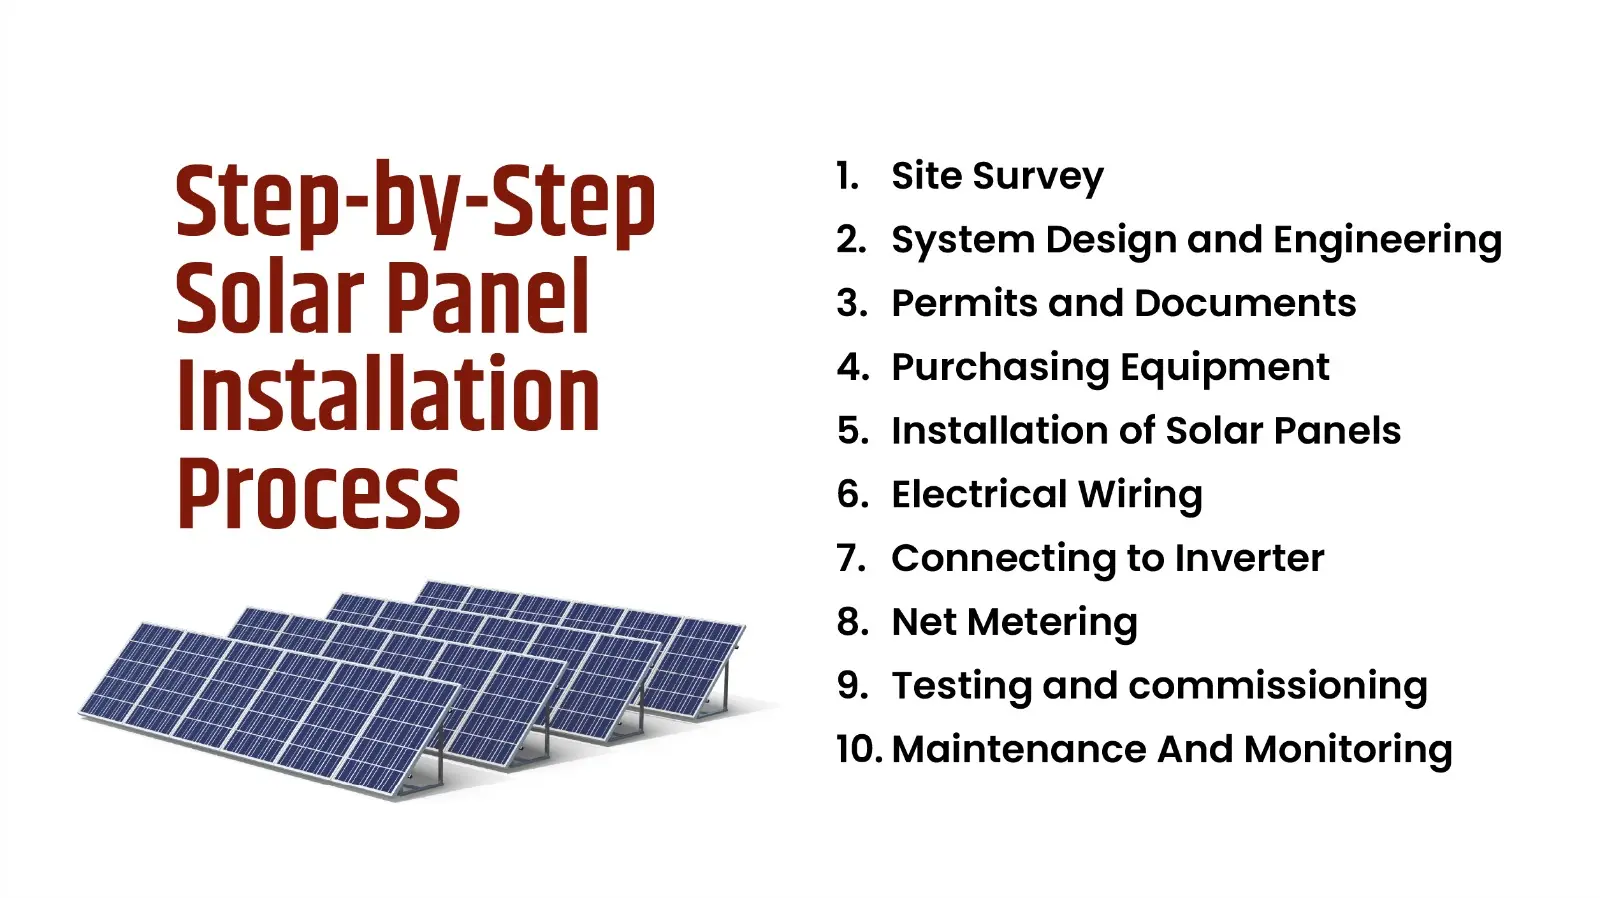
Installing solar panels in India now follows a clear, efficient process:
- Check your energy needs
- Select a certified installer
- Conduct site survey and system design
- Finalise paperwork and approvals
- Install mounts, panels, wiring, inverter
- Commissioning and grid connection
- Claim subsidy and begin generating clean power
- Keep the system well-maintained
Solar installation brings you lower bills, clean energy, and greater independence. With clear steps and trusted professionals, it’s a smooth and rewarding investment. Ready to go solar? I can help you get accurate quotes and verify local installer credentials!
Author- Ayush