
Solar energy is one of the best ways to save on electricity bills in India. With rising power costs and frequent outages, many homeowners are now looking to install their own solar panel systems. A DIY solar panel system is a smart way to take control of your energy use and reduce your carbon footprint.
In this article, you’ll learn how to build a complete DIY solar panel system for home use, step-by-step. This guide is perfect for Indian homes and includes updated details for 2025.
Why Choose a DIY Solar Panel System?
Installing a solar system yourself can save you labour charges and give you complete control over the setup. If you’re comfortable with basic tools and electrical safety, this project can be both satisfying and economical.
However, it’s important to understand the components, the process, and the safety measures before starting.
Step 1: Understand Your Power Needs
Check your monthly electricity bill to find your average power use in kilowatt-hours (kWh). This helps you choose the right size for your solar setup.
For example:
- A small home might use 2–3 kW per day.
- A medium-sized home may use 5–6 kW.
- A large home or one with air conditioning might use 8–10 kW or more.
Step 2: Choose the Right Type of Solar System
There are three types of solar panel systems available in India:
- On-Grid Solar System
Connected to the local electricity grid. Best for areas with reliable power. You can sell extra power back to the grid using net metering. - Off-Grid Solar System
Works without any grid connection. Uses batteries to store power. Ideal for rural or remote locations. - Hybrid Solar System
Combines both grid and battery backup. Works even during power cuts and sells extra power to the grid.
For most Indian households in urban areas, an on-grid system or hybrid system is recommended.
Step 3: Buy the Required Components
A basic home solar power system includes:
1. Solar Panels
- Convert sunlight into electricity.
- Monocrystalline panels are more efficient and work better in hot climates.
- Polycrystalline panels are cheaper but need more space.
2. Inverter
- Converts DC (direct current) from panels into AC (alternating current) for home use.
3. Mounting Structure
- Holds panels in place on the roof. Should be rustproof and adjustable for the best sun angle.
4. Battery (Optional)
- Needed only for off-grid or hybrid systems.
5. Cables and Connectors
- Make sure you use good-quality wires and connectors for safety and efficiency.
6. Net Meter (for On-Grid systems)
- Helps track power exported to and imported from the grid.
Also Read Power Your Home Day and Night: Best Solar Battery for Residential Use in India (2025)
Step 4: Check Your Roof
Before installing solar panels, inspect your roof:
- Does it get direct sunlight for most of the day?
- Is the roof strong enough to hold the panel structure?
- Do you have at least 100 square feet of space per 1 kW?
In India, south-facing roofs are best for solar energy production.
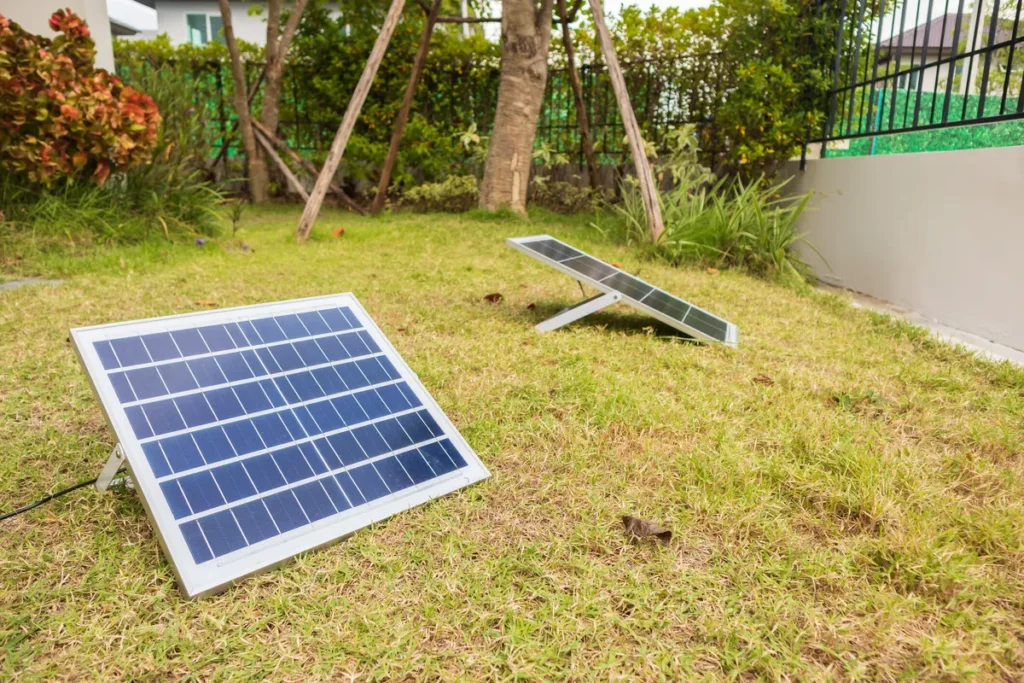
Step 5: Install the Solar Panels
If you’re doing it yourself, follow these basic steps:
- Set up the mounting structure on your roof.
- Fix the panels tightly with bolts.
- Connect the panels in series or parallel, depending on your inverter.
- Connect the output to the inverter.
- If using batteries, connect them to the inverter.
- Connect the inverter to your home’s main distribution board.
- For on-grid systems, connect to the net meter and local grid.
Important Note: Electricity work is risky. Always follow safety rules or hire a certified electrician for wiring and final connection.
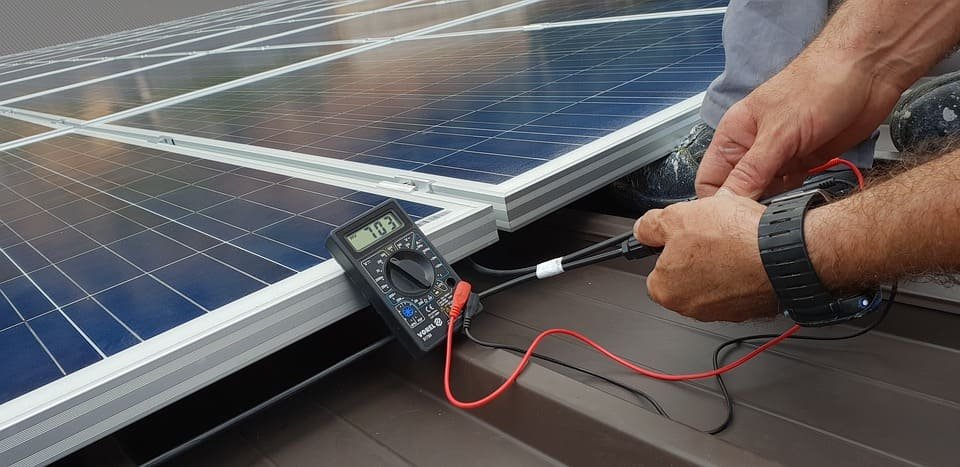
Step 6: Test the System
Once everything is connected:
- Turn on the system during the day.
- Check inverter readings.
- Monitor voltage, current, and power output.
If all looks good, your system is ready to generate free electricity from the sun.
Step 7: Apply for Government Subsidy (Optional)
The Indian government provides solar subsidies under programs like:
PM Surya Ghar Yojana (2025)
- Available for residential rooftop solar installations.
- Up to 40% subsidy for systems up to 3 kW.
- Apply through the National Portal for Rooftop Solar.
- To claim the subsidy, installation must be done by an approved vendor.
If you choose a full DIY installation, you may not qualify for subsidies. Always check current rules before starting.
Cost of a DIY Solar Panel System in India (2025)
| System Size | Approximate Cost (DIY) | Approximate Monthly Savings |
|---|---|---|
| 1 kW | ₹60,000 – ₹75,000 | ₹1,000 – ₹1,500 |
| 3 kW | ₹1.8 – ₹2.3 lakhs | ₹3,000 – ₹4,500 |
| 5 kW | ₹3 – ₹3.8 lakhs | ₹5,000 – ₹7,500 |
Prices vary based on panel type, inverter brand, and whether batteries are included.
Maintenance Tips
- Clean panels every 15–30 days using water and a soft brush.
- Inspect for bird droppings or tree leaves.
- Check wiring and inverter display monthly.
- Replace batteries every 5–7 years if used.
FAQs
Q1: Can I install solar panels on a flat roof?
Yes. You can use tilt frames to face the panels toward the south for better efficiency.
Q2: How many panels do I need for a 3kW system?
You’ll need around 6 to 9 panels, depending on the panel wattage (usually 330–550W each).
Q3: Do I need permission to install a solar system?
For off-grid systems, no. For on-grid systems, you need DISCOM approval and a net meter.
Q4: Is it safe to install solar panels myself?
Basic setup is doable, but for electrical work and safety, hiring a professional is strongly advised.
Q5: Can I get a loan for a DIY solar system?
Some banks and NBFCs offer loans for solar systems. However, most require certified installers.
Final Words
Building a DIY solar power system for your home is a great project for saving money and going green. It gives you energy freedom and long-term savings. With basic planning, smart choices, and safety, you can power your home using clean and renewable energy.
Go solar, and let the sun pay your electricity bills!
Author- Ayush


2 thoughts on “DIY Install Solar Panel System in India: Step-by-Step Guide to Build Your Own Home Solar Setup (2025)”