Solar garden lights are a perfect way to add charm, safety, and eco‑friendly lighting without electricity bills. You can build simple models yourself using basic parts. These lights work off sunlight, run at night, and are easy to install. This guide shows you how to make your own solar garden lights step by step. Learn how to build, install, and maintain them to light up your garden.
Why Choose Solar Garden Lights?
- No wiring needed—solar units work independently.
- Zero electricity cost once built.
- Easy DIY setup with basic tools and parts.
- Ideal for areas without outdoor power or electric outlets.
- Adds decorative lighting to walkways, patios, or planter borders.
These lights are popular globally, including in India, for lighting remote areas like farms or garden corners.
What You’ll Need: Core Components
Solar garden lights include four main parts: solar panel, rechargeable battery, LED, and control circuit.
- Solar panel: Small 1 V–3 V panel that charges the battery.
- Rechargeable battery: Typically NiMH AAA or lithium-ion cell.
- LED bulb: Efficient white LED with low voltage draw.
- Control circuit: A DIY controller or IC like QX5252F or CL0116 handles switching and protects the battery.
You can find DIY tutorials using these components to build reliable solar lights with 5–6 hours run time each night.
Also Read Boost Your Solar Savings: Troubleshooting Low Solar Power Output in Indian Homes
Step 1: Design Your Light Setup
Decide what you need:
- Use two LEDs in series or one LED depending on battery voltage.
- Use 2 V–3 V solar panel to match battery voltage.
- For backup, most homemade models run 5–6 hours per charge.
- If your needs are higher, choose larger panels and a higher mAh battery.
A 2 V, 150 mA panel with a NiMH or Li-ion battery gives simple but effective power.
Step 2: Wiring and Circuit Basics
There are two sections:
- Charging circuit – solar panel charges the battery via a diode to prevent reverse current.
- Lighting circuit – when sunlight disappears, an internal chip or MOSFET turns LEDs on automatically.
Popular DIY circuits use MOSFETs for simple charge and dark detection. Advanced options use ASIC controllers like CL0116 or QX5252F for automatic dusk-to-dawn operation without extra sensors.
Step 3: Choose Batteries and LEDs
- NiMH AAA (1.2 V) or Li-ion single‑cell (3.7 V) are common.
- Batteries should have a protection circuit or add an external one for safety.
- Choose bright white LEDs (3–5 mm or straw‑hat type) for visible light output.
- Plan your LED strings to balance brightness and battery duration.
Step 4: Build Your Solar Light
- Mount solar panel in sunlight for full exposure.
- Connect panel to battery via diode or controller.
- Wire LED circuit to battery via controller so that it turns on automatically at dusk.
- Use a waterproof enclosure (plastic jar or sealed box) for body and LED.
- Place panel on top or side where it gets sunlight.
You can also add decorative jars or bowls for aesthetic appeal.
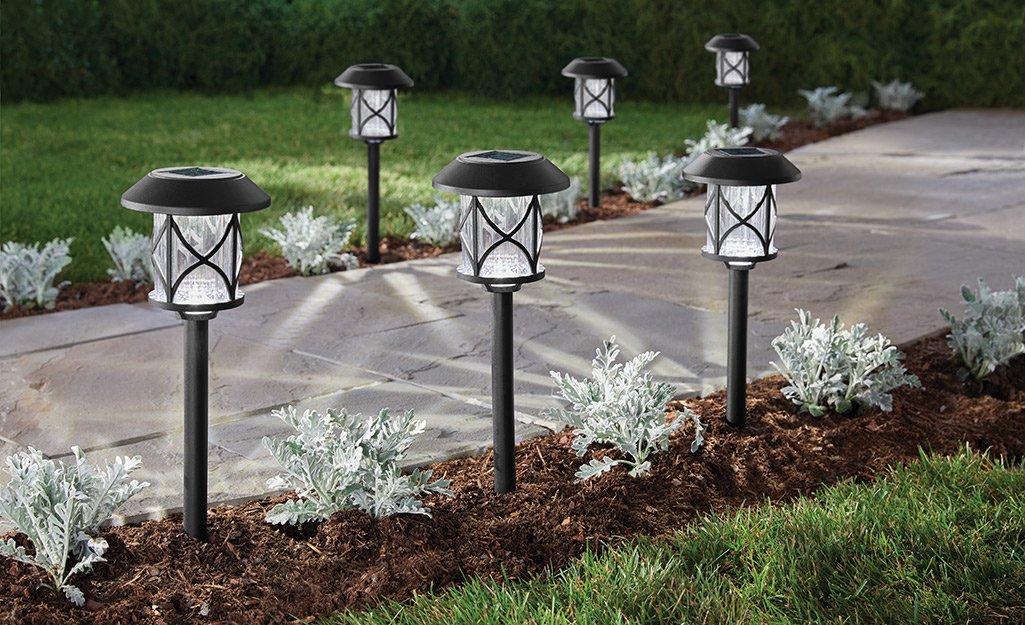
Step 5: Install in the Garden
- Use galvanized stakes or stands to mount lights in soil or flowerbeds.
- Place them in sunny spots for full charge.
- Maintain proper tilt—angle panel towards the sun for maximum output.
- Position path lights 450 mm–1,100 mm above walkway for safe and decorative lighting.
Step 6: Maintain Your DIY Garden Light
- Clean panels monthly to remove dust.
- In cloudy or dusty monsoon months, check charge level.
- Store lights indoors in heavy rain or winter to protect electronics.
- Replace degraded batteries or LEDs after ~2–3 years.
Good maintenance ensures light lasts longer—up to five years or more.
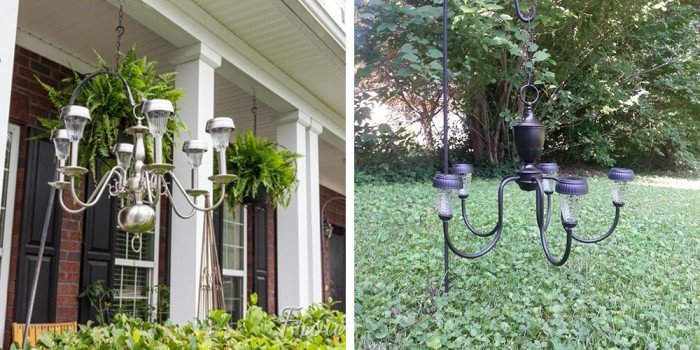
Example DIY Projects & Hacks
- DIY globe lights using frosted punch‑bowls with solar garden lamp inside for decorative effect.
- Simple garden stake lamps assembled using thrifted solar lamp top and small jars.
- Homemade bulbs using controllers like QX5252F offering auto‑on at dusk and long run times.
These ideas prove you can make stylish and functional solar lights in India at low cost.
How They Work: Simple Tech
- During daytime, sunlight powers the solar panel.
- The panel charges the internal battery.
- When panel voltage falls (night), the control circuit turns on the LEDs.
- At dusk, LEDs light automatically.
- At dawn, lights switch off and charging resumes.
No wiring or manual switching needed.
Cost Estimate for DIY Build in India
Expect to spend roughly:
- ₹100–₹200 on panel and battery
- ₹50–₹100 on LED and components
- ₹100–₹200 for enclosure, jar, or stake
Total cost per light: ₹300–₹500. You’ll have eco‑friendly lighting for years without electric bills.
FAQs: DIY Solar Garden Lighting
Q. How long do the lights run at night?
A: Most homemade lights run 5–6 hours after full daily charging.
Q. Will they work in monsoon or cloudy days?
A: Output drops on cloudy days, but battery stores power. Clean panels regularly for best charging.
Q. Can I use rechargeable Li-ion?
A: Yes—just ensure protection circuit to prevent overcharge or over-discharge.
Q. How bright are these DIY lights?
A: They offer ambient to task-level brightness depending on LED count and battery size.
Q. Are these lights waterproof?
A: Use weatherproof jars or sealed enclosures. Protect electronics from rain and moisture.
Final Thoughts
DIY solar garden lights offer a fun, rewarding way to light up your space. You get hands-on experience while building LED lights that work automatically each night with no wiring and no electricity cost.
These lights are ideal for Indian gardens, balconies, pathways, or even rural areas where electricity is scarce. With the right battery, solar panel, and simple circuit, you can make beautiful lights that work night after night.